AI agents are no longer just a future idea. Many businesses are already using them to reduce manual work, improve customer response times, and make internal processes easier. The challenge is not whether AI agents are useful — it's knowing how to build one properly.
That is where Microsoft Copilot Studio stands out. For businesses already using Microsoft tools, it makes it possible to build practical AI agents without starting from scratch or relying on a full development team.
What Is Copilot Studio?
Microsoft Copilot Studio is Microsoft's platform for creating AI agents that can answer questions, automate tasks, and connect to business systems. It works across Microsoft Teams, websites, internal portals and business apps, and can understand natural language, pull information from business data, trigger workflows and connect to systems like CRM, HR or finance platforms.
Step-by-Step: How to Build an AI Agent
Step 1: Start with one clear business use case
Before opening the platform, decide what your AI agent should actually do. The biggest mistake businesses make is trying to make the agent do everything. Start with one clear pain point — answering HR policy questions, handling IT support, helping users find documents, or automating internal approvals. The best first use cases are repetitive, high-volume, and rules-based.
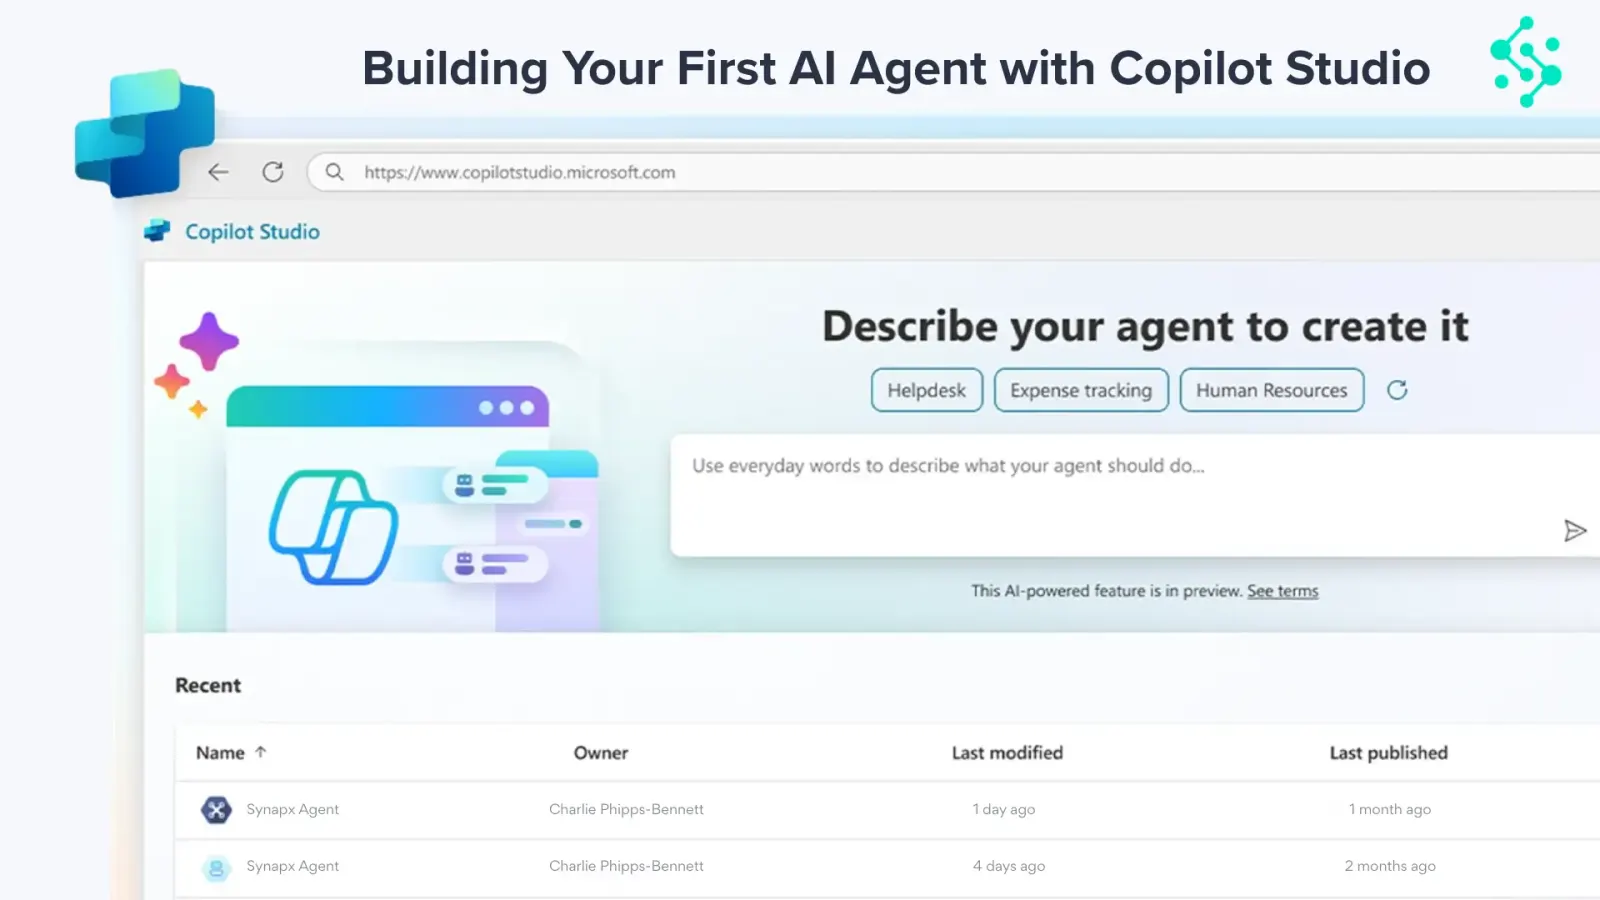
Step 2: Create your agent in Copilot Studio
Go to Microsoft Copilot Studio and sign in. From Home → Create → New Copilot, pick a name, description, default language and environment. The main agent workspace is where you manage topics, knowledge sources, actions, channels and analytics.
Step 3: Add knowledge sources
Your agent is only as useful as the information it can access. Under Knowledge → Add Knowledge you can connect SharePoint, websites, PDFs, internal knowledge bases and Dataverse data. Best practice: use clean, up-to-date content, remove duplicates, and avoid messy documents.
Step 4: Build topics, prompts and actions
Topics are conversation paths. Under Topics → Create topic you write trigger phrases, set follow-up questions and create branching logic. Add actions to trigger Power Automate flows, create tickets, update records or send alerts. This is where Copilot Studio becomes more than a chatbot — it becomes a business process tool.
Step 5: Test the agent properly
Use the built-in test pane to test common questions, unclear wording, edge cases and failed responses. Check response quality, workflow triggers and fallback handling. Users lose confidence quickly if the first experience is poor, so refine before rollout.
Step 6: Publish and monitor
From Publish → Deploy you can ship to Microsoft Teams, internal websites, customer portals and apps. After launch, monitor top queries, failed conversations, escalation rates and usage levels. The first version is a starting point, not the final product.
Copilot Studio Lite vs Full
Lite is included with Microsoft 365 Copilot and is best for answering questions from internal content and quick wins on Teams and SharePoint. The full version is needed when you want deeper integrations with Power Automate, Dataverse, custom connectors and advanced analytics.
Common Mistakes to Avoid
- Trying to build one agent to solve every problem
- Feeding the agent messy, out-of-date documents
- Skipping proper testing with real users
- Launching without monitoring or a feedback loop